

Clover Vs Weeds: Your Playbook to Winning the Battle
You picked out the perfect spot for your new clover plot and are already daydreaming about the big bucks that you have patterned to it. You get a soil sample, lime, fertilize, work the soil and get the seed in the ground. You even manage to time the weather perfect and you get an ideal amount of rain. Everything has gone perfect and in no time you will be sitting over a lush carpet of green just like you see on TV.
Wouldn’t it be nice if this is how it always worked? Proper soil preparation and timing can allow this to be the case but more times than not you will be dealing at some point with a food plotters enemy number one…. Weeds.
This playbook will walk you through some of the things we have done to be successful with our clover establishment and maintenance. We will walk you through how to prepare your soil in order to minimize weed emergence as well as what steps you can take to eliminate weed competition that does occur in order to maximize the tonnage of forage within your plots.
Clover has become a staple in most foodplotters arsenal and is a favorite of the TPO team for good reason. It is a perennial that does not require large equipment to get into the ground and can provide tons of high protein forage to the deer population for several consecutive years. Once established clover is a solid choice due to the fact that it can provide food the major majority of the calendar year. It does come with needed maintenance to ensure maximum effectiveness and weed prevention.
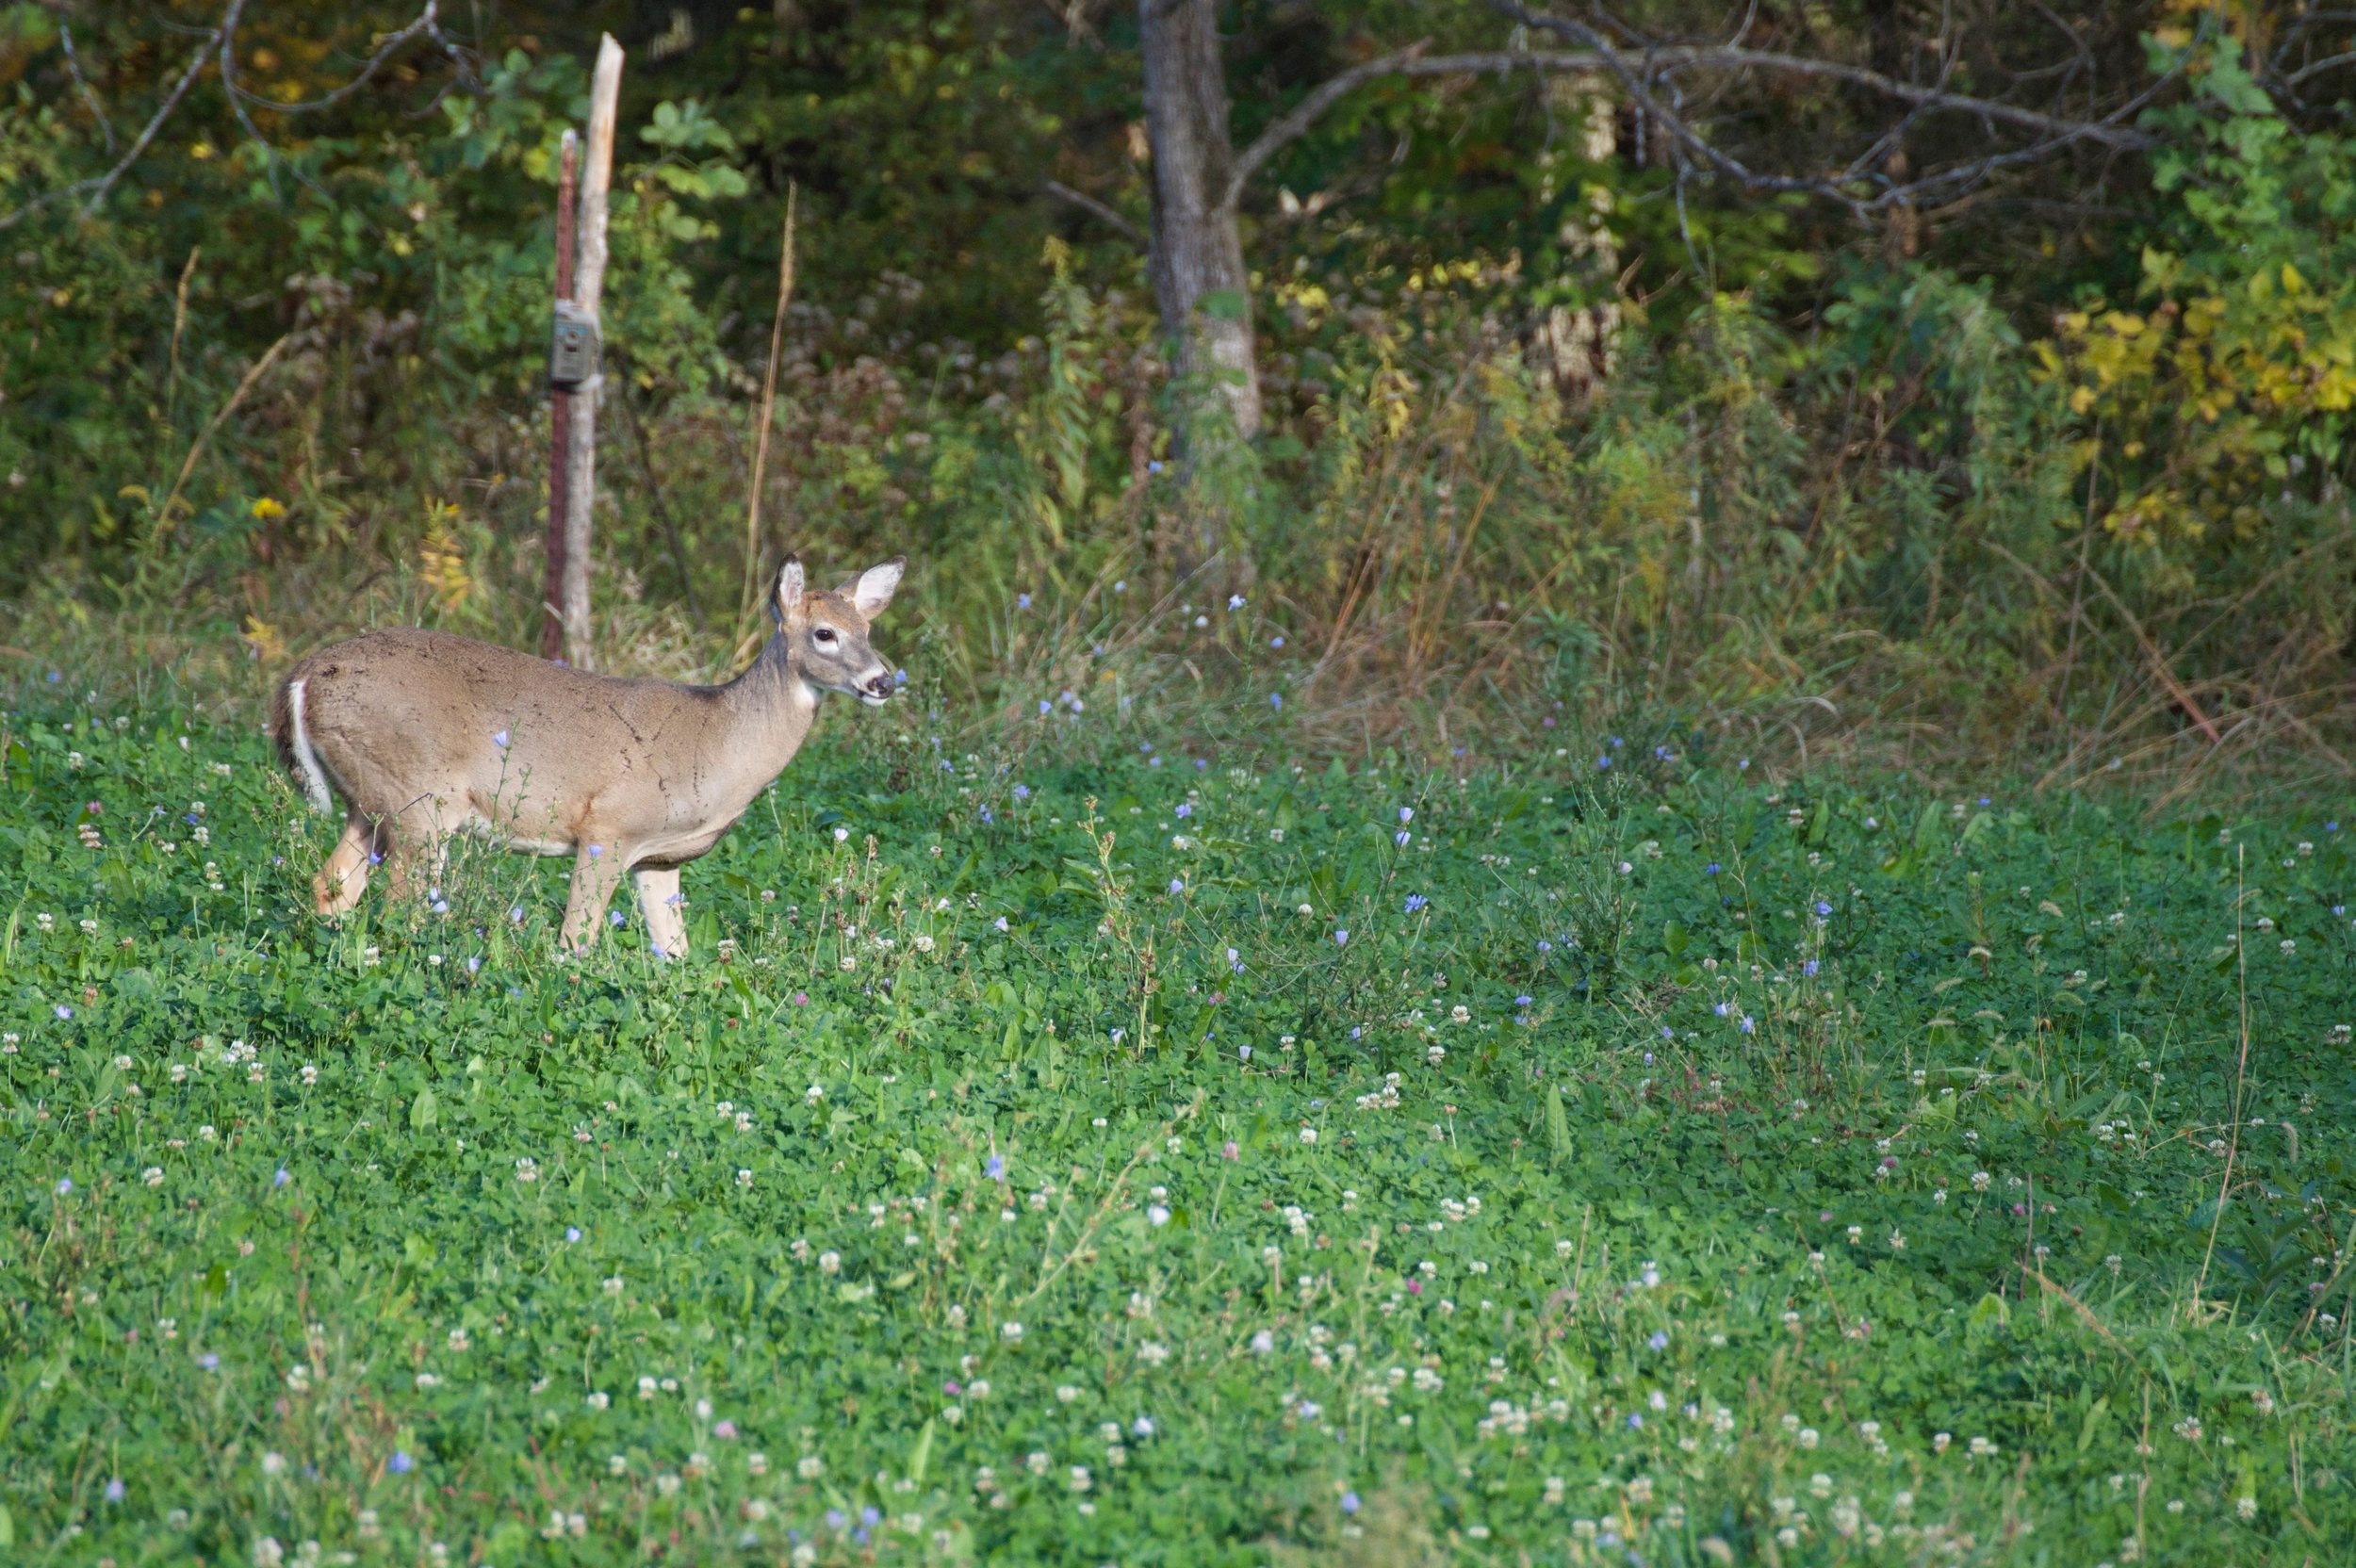
It is a great feeling to see your work start to come to life.
Fall Establishment Year 1:
For a brand new clover plot we highly recommend spring/summer soil work with a fall planting. Planting in spring will only increase the amount of weed competition that you have to deal with. This method will reduce weeds during first year clover establishment and set you up for years to come.
1. Identify area of plot and wait until after spring green up to start any work.
2. Clear/Disc/Rip area to establish future plot site. If no equipment you can still be successful skipping this step.
3. Wait for new weeds to emerge during the summer time period.
4. Spray with 41% Glyphosate to kill new weed emergence. You can purchase Glyphosate at your local farm store or online. This is the active ingredient in Round-Up and buying the generic version will save you a good amount of money.
5. Give the weeds time to completely die off and monitor if additional applications are necessary through-out the summer.
6. Remove dead debris and fully expose soil by either mowing as low as possible or raking but try not to disrupt soil. Clover like a firm seed bed with soil exposed so it is not necessary to till immediately prior to planting and tilling can spurt on new weed growth.
7. Broadcast clover seed and any needed lime/fert on area before a good rain. Do not cover seed by harrowing or disc as it can bury seed and prevent emergence. Let the rain push the seed to desired depth. If no rain you can use a cultipacker or atv/truck tires to ensure good contact.
8. You can also broadcast a cereal grain to provide a cover crop to the young clover to help deer grazing and weed prevention for next year. We use oats because the deer love the quick growing young shoots and they provide great cover crop for weeds the following spring.
9. You should have minimal weed competition when planting in fall but if you do encounter issues see the steps below for maintenance. For year one fall planting selective herbicide will be the way to go. If you have rapid clover growth from August-October you could possibly mow right before hunting season.

Plot prep is a favorite time to get the family involved. Grandpa on the tractor under closer supervision by the grand daughter.
Spring Establishment Frost Seeding Year 1:
If you are reading this and you missed your time period to get a clover plot established this fall but would like clover established come next spring do not worry. There is another option that has worked great for TPO. Frost seeding allows for a spring planting but gives the clover a chance for a head start against the weeds.
1. Clear future plot area by burning with glyphosate, waiting and either discing or ripping during late fall or early winter when soil is manageable.
2. Late February to early march broadcast recommended fertilizer/lime along with your clover onto future plot area.
3. When temps are in the 50s during the day and around freezing at night the freeze thaw cycle will pull your seed/fert into the ground and prepare for emergence come spring.
4. Your clover will begin to grow as the green up occurs but will most likely still have some weed competition to deal with using the steps listed below.
5. Do not recommend this method in combination with cereal grains or alfalfa.

A hand spreader is all you need to frost seed your clover each year to ensure a thick stand.
Maintenance/Weed Control:
1. Frost seed clover into existing clover plots during late February or early March. Simply broadcast clover and allow freeze thaw cycle to thicken your clover stand come spring and choke out weeds.
2. For established clover plots mow after spring green up no lower than 6 inches to damage broadleaf weeds and promote clover growth and palatability.
3. If mowing alone is not sufficient utilize Clethodim to kill unwanted grasses and Butyrac 200 to kill unwanted broadleaf weeds. These are clover friendly selective herbicides and are best applied after a mowing or when weeds are young. You can purchase them at your local dealer or online. There are expensive versions offered by the outdoor industry but again you will save yourself money going the generic route. Combine with a crop oil to maximize effectiveness.
4. After a mow and before a good rain you can also supplement the plot with a zero nitrogen fertilizer high in P/K that will boost the clover much more than it will its competition.
5. Within two weeks your clover plots should be clear of unwanted weeds and free to grow!
6. Continue to monitor and mow throughout the year as you see fit usually 2-3 times when rain is good.

We have upgraded to using larger sprayers but most of our lots were started with backpack 5 gallon sprayers.

We typically use a bush hog for mowing but anything all the way down to a weed whacker will work!
Do NOT do this:
· Avoid first year clover establishment during the spring/early summer when possible.
· Do not use selective herbicides on mixes containing other food plot varieties unless you are clear on their effects.
o Do not use Clethodim on cereal grains.
o Do not use Butyrac 200 on brassicas or chicory.
· Avoid mowing clover too low or when there is little rain in forecast.
· Do not worry if there are still a handful of weeds in your plots. I know we all want them to be pristine but some weeds are actually food that deer prefer.
Conclusion
Clover is the go-to food plot for TPO and many others like us. The ability to establish it with minimal equipment and the nutrition it offers your herd make it a no-brainer. Our first plots were all done with a backpack sprayer and a hand spreader following the steps we listed above. Those plots still stand today and have offered amazing opportunities from the stand while providing year round nutrition to our deer and turkeys.
You can have that lush clover field you have always wanted. There are many tools in the bag to help you win the war on weeds and the effort will be worth it!
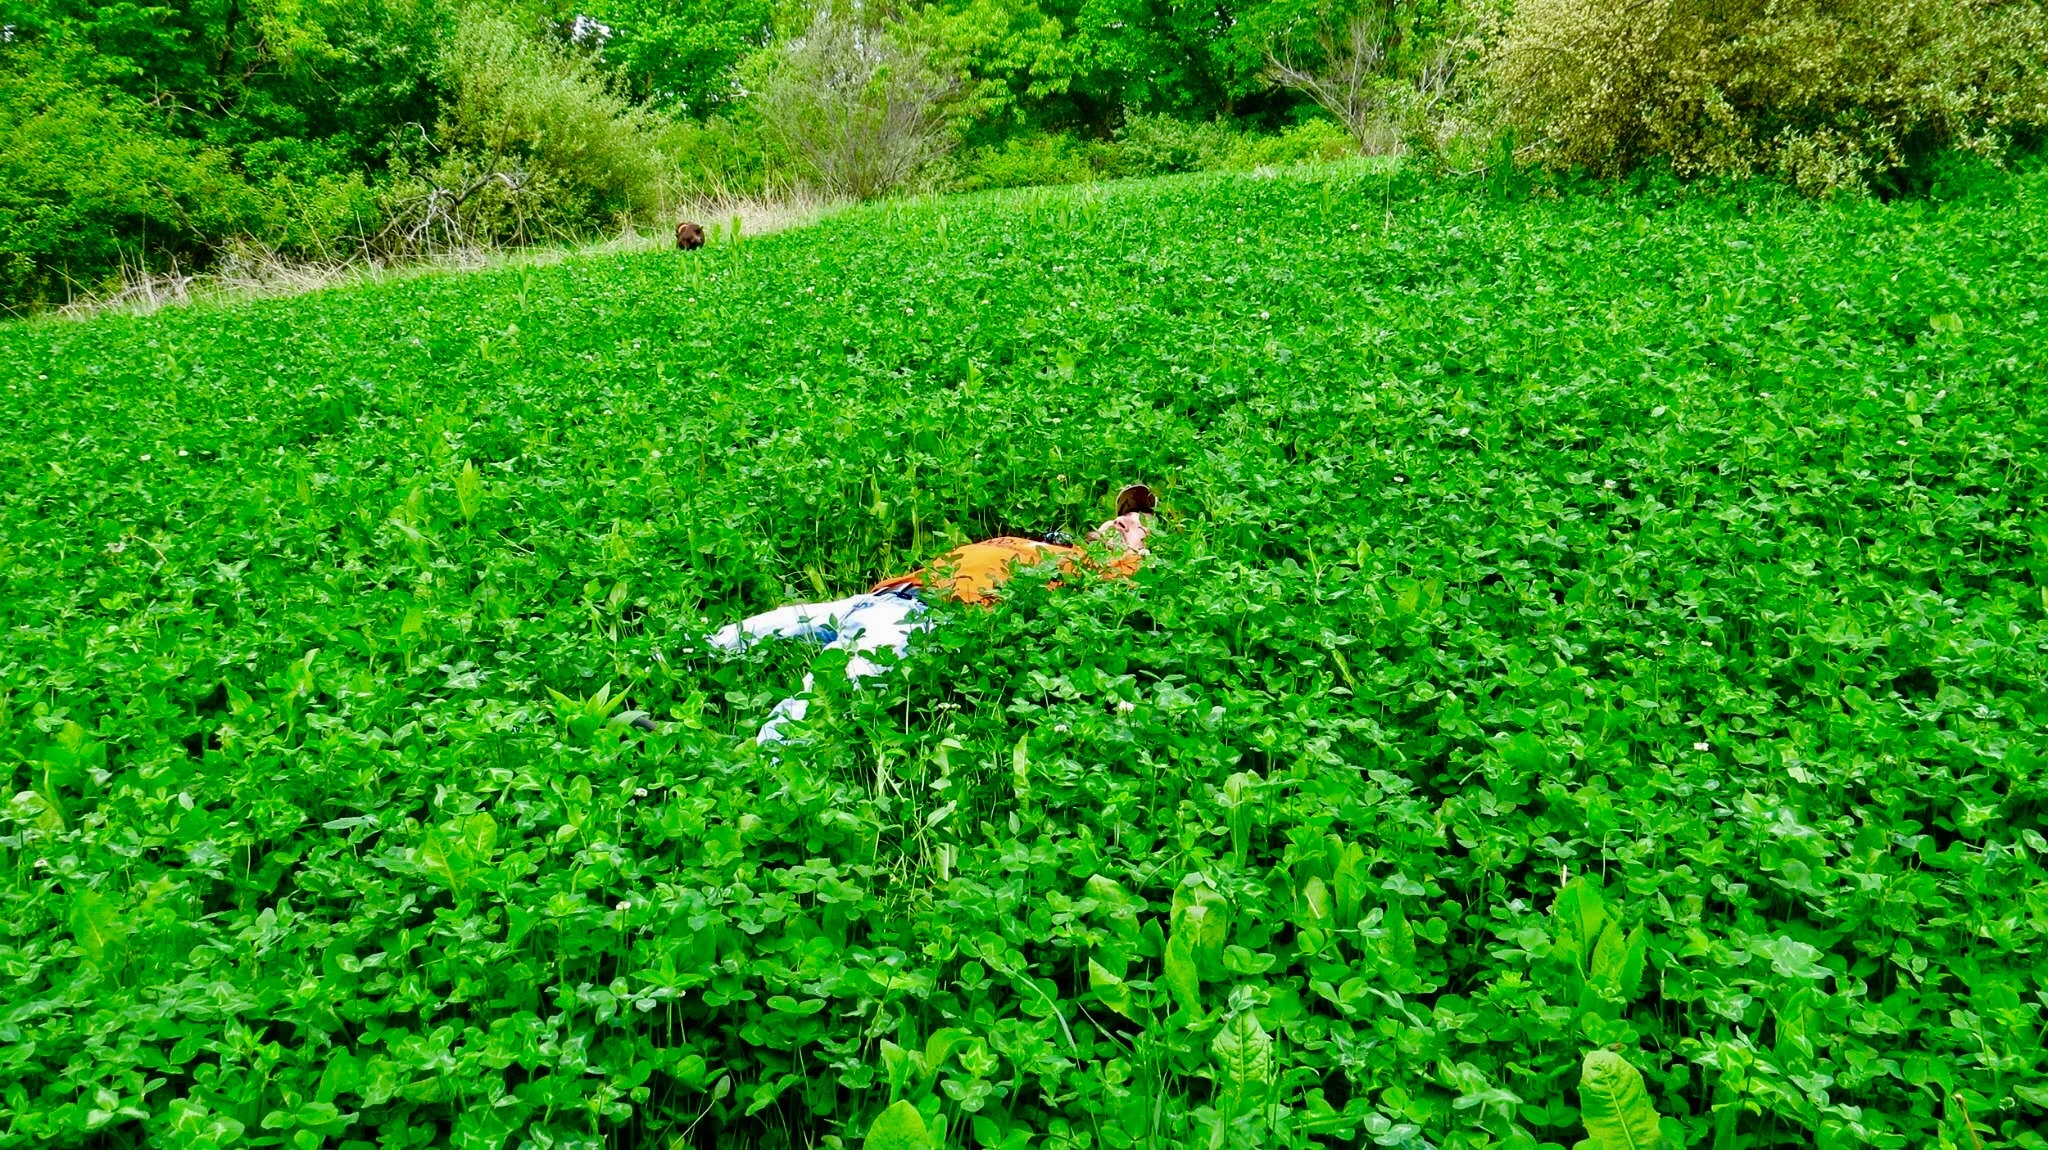
Basking in the glory of another successful clover stand!!

