

CuddeBack CuddeLink System: 10 Minute Set Up- Don’t Make These Mistakes
I purchased my first trail cam in 2008. It was a Moultrie M80I. You remember the ones. Those giant black boxes. It was $199.99 from Scheels in Coralville Iowa. The camera was excellent and lasted 5 years. Since that time, I have bought tons of low end cheaper priced cameras and have always been disappointed with missed pictures and short life spans. My theory was, if I have a lot of OK cameras, that’s better than a super expensive camera that works all the time because I can cover more ground that way. Man was I wrong.
Last year our LLC purchased a CuddeLink system. I struggled with all sorts of issues from it not taking night pictures, to creating my own issues during the initial set up, to not even understanding the actual buttons and how the general technical layout of the camera’s user interface worked. I was so frustrated and confused that I assumed these cameras, although expensive were destined for the trash as well. That was until I fessed up and admitted the issue was me, not the cameras. In this article I am going to break down:
A case for investing in a CuddeLink system
My personal failures
A quick step-by-step guide to setting up your CuddeLink system in less than 10 minutes

A picture worth many words. I remember opening up my email to see this buck. The first mature buck on our new farm that was 2.5 hours away. Not to mention he was liking or freshly planted oats and rye plot.
Why Invest in CuddeBack’s CuddeLink System:
The answer is twofold. The CuddeLink system reduces the reason why you don’t kill mature deer by a huge margin and you get what you pay for.
There are unlimited factors as to why you don’t harvest a mature buck each year. But I challenge you to find one seasoned big buck killer that will disagree with the statement I am about to make. That is, hunting pressure is the most important factor in your whitetail strategy. Furthermore, checking trail cameras is a huge hinderance to that. I am guilty of it myself. Going down into the draw you know you shouldn’t, and leaving your scent in, just to grab that card quick. By crossing that line and stepping into his bubble and leaving your foot scent, you have already erased whatever tactical advantage you created in the first place by getting his picture. Cell cameras reduce those intrusions. The only time you need to go to the camera is to replace batteries, that is if you don’t have extended battery packs or solar panels on them.
Secondly, you get what you pay for. Last season was a trial. This year I have committed. I am shifting my trail cam strategy to purchasing quality cameras that will have a longer lifespan even though I may not have as many cameras in the woods. I know they will work every time, for a long time. Historically I have purchased trail cams in the $75-$100 range. Over the past 7 years I have observed their lifespan is typically about two years. After purchasing the CuddeLinks last year, they fired right up this year and I can already tell they are going to last for several years to come. If they fire up next year, year 3, I have already saved money.
Finally, speaking of getting what you pay for. If you choose to go the cellular route for the CuddeLink system, their set up is very inexpensive for sending pictures to your email. Unlike other cell camera systems where you need 1 plan for each camera. The CuddeLink system only needs 1 plan for all of your cameras. That is because the “remote” cameras all send pictures to 1 “home” camera which sends the pictures to your email, and that is the only cellular plan you need to pay for. Check their plans out online, they are definitely worth it.

How I failed:
My issues were simple. After mulling over the 40 page booklet on how to operate my first CuddeBack camera not only from a, how the buttons on the interface worked, but also from a setting up the CuddeLink system standpoint. I was completely and utterly confused. I wish they provided a smaller 1-page document that kept it simple stupid for hunters like me! I will explain how to execute this in our third section, but my biggest mistake was simple. I did not update the firmware! The property this was on was two and half hours from home. Cameras were deployed during September and we were not getting night pictures. These cameras were terrible we all assumed, but in fact, it was my operator error. The first item that should be done if you are to purchase a CuddeLink system. Update the firmware. Today is August 1st 2021 and the systems newest firmware is 8.3. The cameras that we purchased this year had 7.1 loaded on them. Although new cameras. The updates keep coming so the firmware was preventing the cameras from taking night pictures. My personal failure!
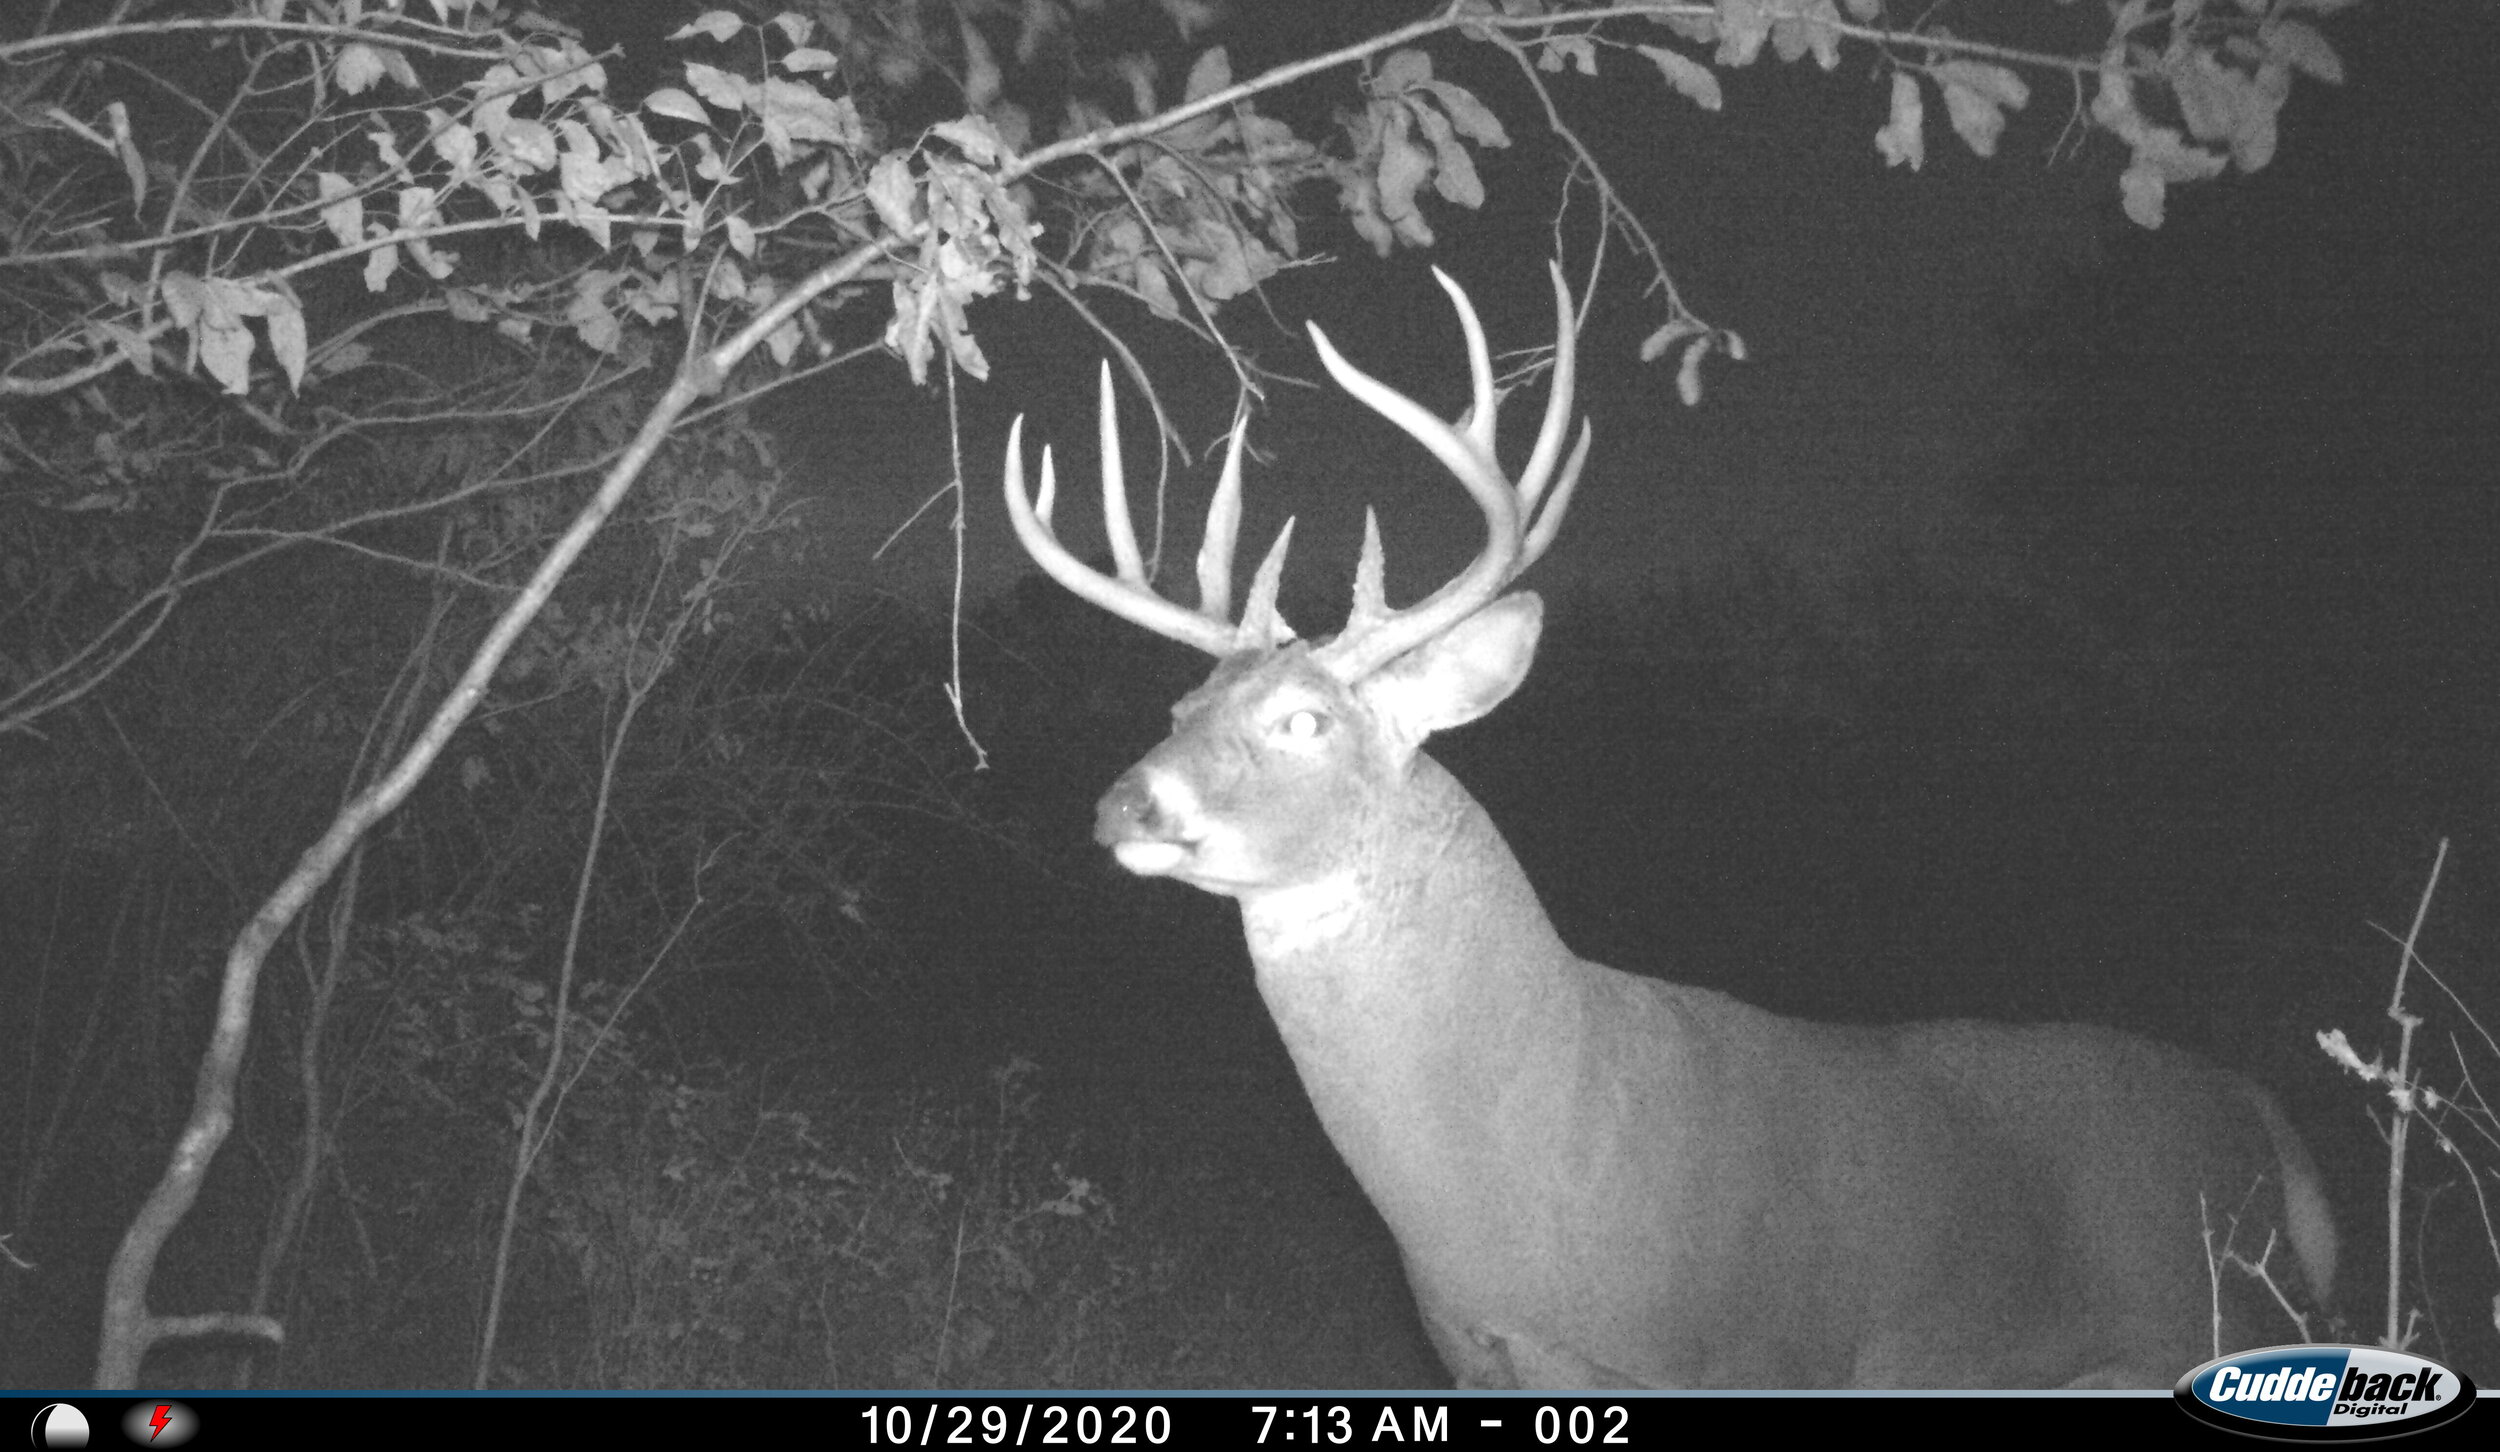
Our first night picture after I updated our firmware! To think how many of these I had missed out on over the past two months.
Set Up your CuddeLink Cameras in Less than 10 Minutes
Here is the stupid simple set up guide I wish I had. Below are the steps and information you need:
Insert Batteries
CuddeBack has a pretty convenient picture of how to insert the D cell batteries.
Update Firmware
Go to www.cuddeback.com and select the link, “Update Firmware”. There you will find the option and instructions to download the firmware.
Save it to an SD card
Turn your camera on. Go to “Commands” and toggle until you see the option “Load F/W”. Hit the up button to confirm and insert the SD card.
Let the camera run its course and it will update the firmware.

Cuddeback’s website’s view. Highlighted Green is the “Update Firmware” Button referenced above.

After selecting the Update Firmware button on the homepage. You will be taken to these instructions.
Set Time and Date
Change Photo Size to 20 MP
Go to commands and toggle until you see the photo size option. CuddeBack’s come standard at 5 MP.
Register your cell camera account
Go to www.camp.cuddeback.com
Go to “View Devices” Select “Add Device”
Fill in the information requested. The ICCID and the IMEI numbers will come from your cell camera but there is a good instructions sheet on the website. I have also pictured it below.

This is the instructions sheet provided by the website for providing your specific cell cameras information to link it to the cellular service.
Link your cameras together
Repeat the above steps (besides the registration of your cell camera) with your other cameras. Now is time to set up your specific cameras to link together.
Cell Camera #1:
Go to: Commands go to “Link Menu”
Toggle to “CL Mode” and make sure it says “Home“
The next option is “CL Loc”, this camera will be 1.
The next option is “CL channel” this doesn’t have to be anything specific, but all your cameras need to be on the same channel
CuddeLink Camera #2:
Go to: Commands go to “Link Menu”
Toggle to “CL Mode” and make sure it says “Remote“
The next option is “CL Loc”, this camera will be 2.
The next option is “CL channel” this doesn’t have to be anything specific, but all your cameras need to be on the same channel
CuddeLink Camera #3:
Go to: Commands go to “Link Menu”
Toggle to “CL Mode” and make sure it says “Remote“
The next option is “CL Loc”, this camera will be 3.
The next option is “CL channel” this doesn’t have to be anything specific, but all your cameras need to be on the same channel
CuddeLink Camera #4:
Go to: Commands go to “Link Menu”
Toggle to “CL Mode” and make sure it says “Remote“
The next option is “CL Loc”, this camera will be 4.
The next option is “CL channel” this doesn’t have to be anything specific, but all your cameras need to be on the same channel
Deployment
Plot out on your map where you intend to string your cameras about. If in doubt of them reaching each other, plan for a shorter distance just to be safe.
I set the “home”” camera. Camera number 1 first. I then turn on camera number 2 and toggle within the “Link menu” until I get to “CL Level” That stands for CuddeLink level. Essentially it tells you how well they are connected. I then keep camera #2 on and walk to my next location monitoring the level of the connection to camera 1. Anything above a level 30 will get the job done.
After placing camera 2. I repeat the same thing with camera 3. Then finally camera 4.
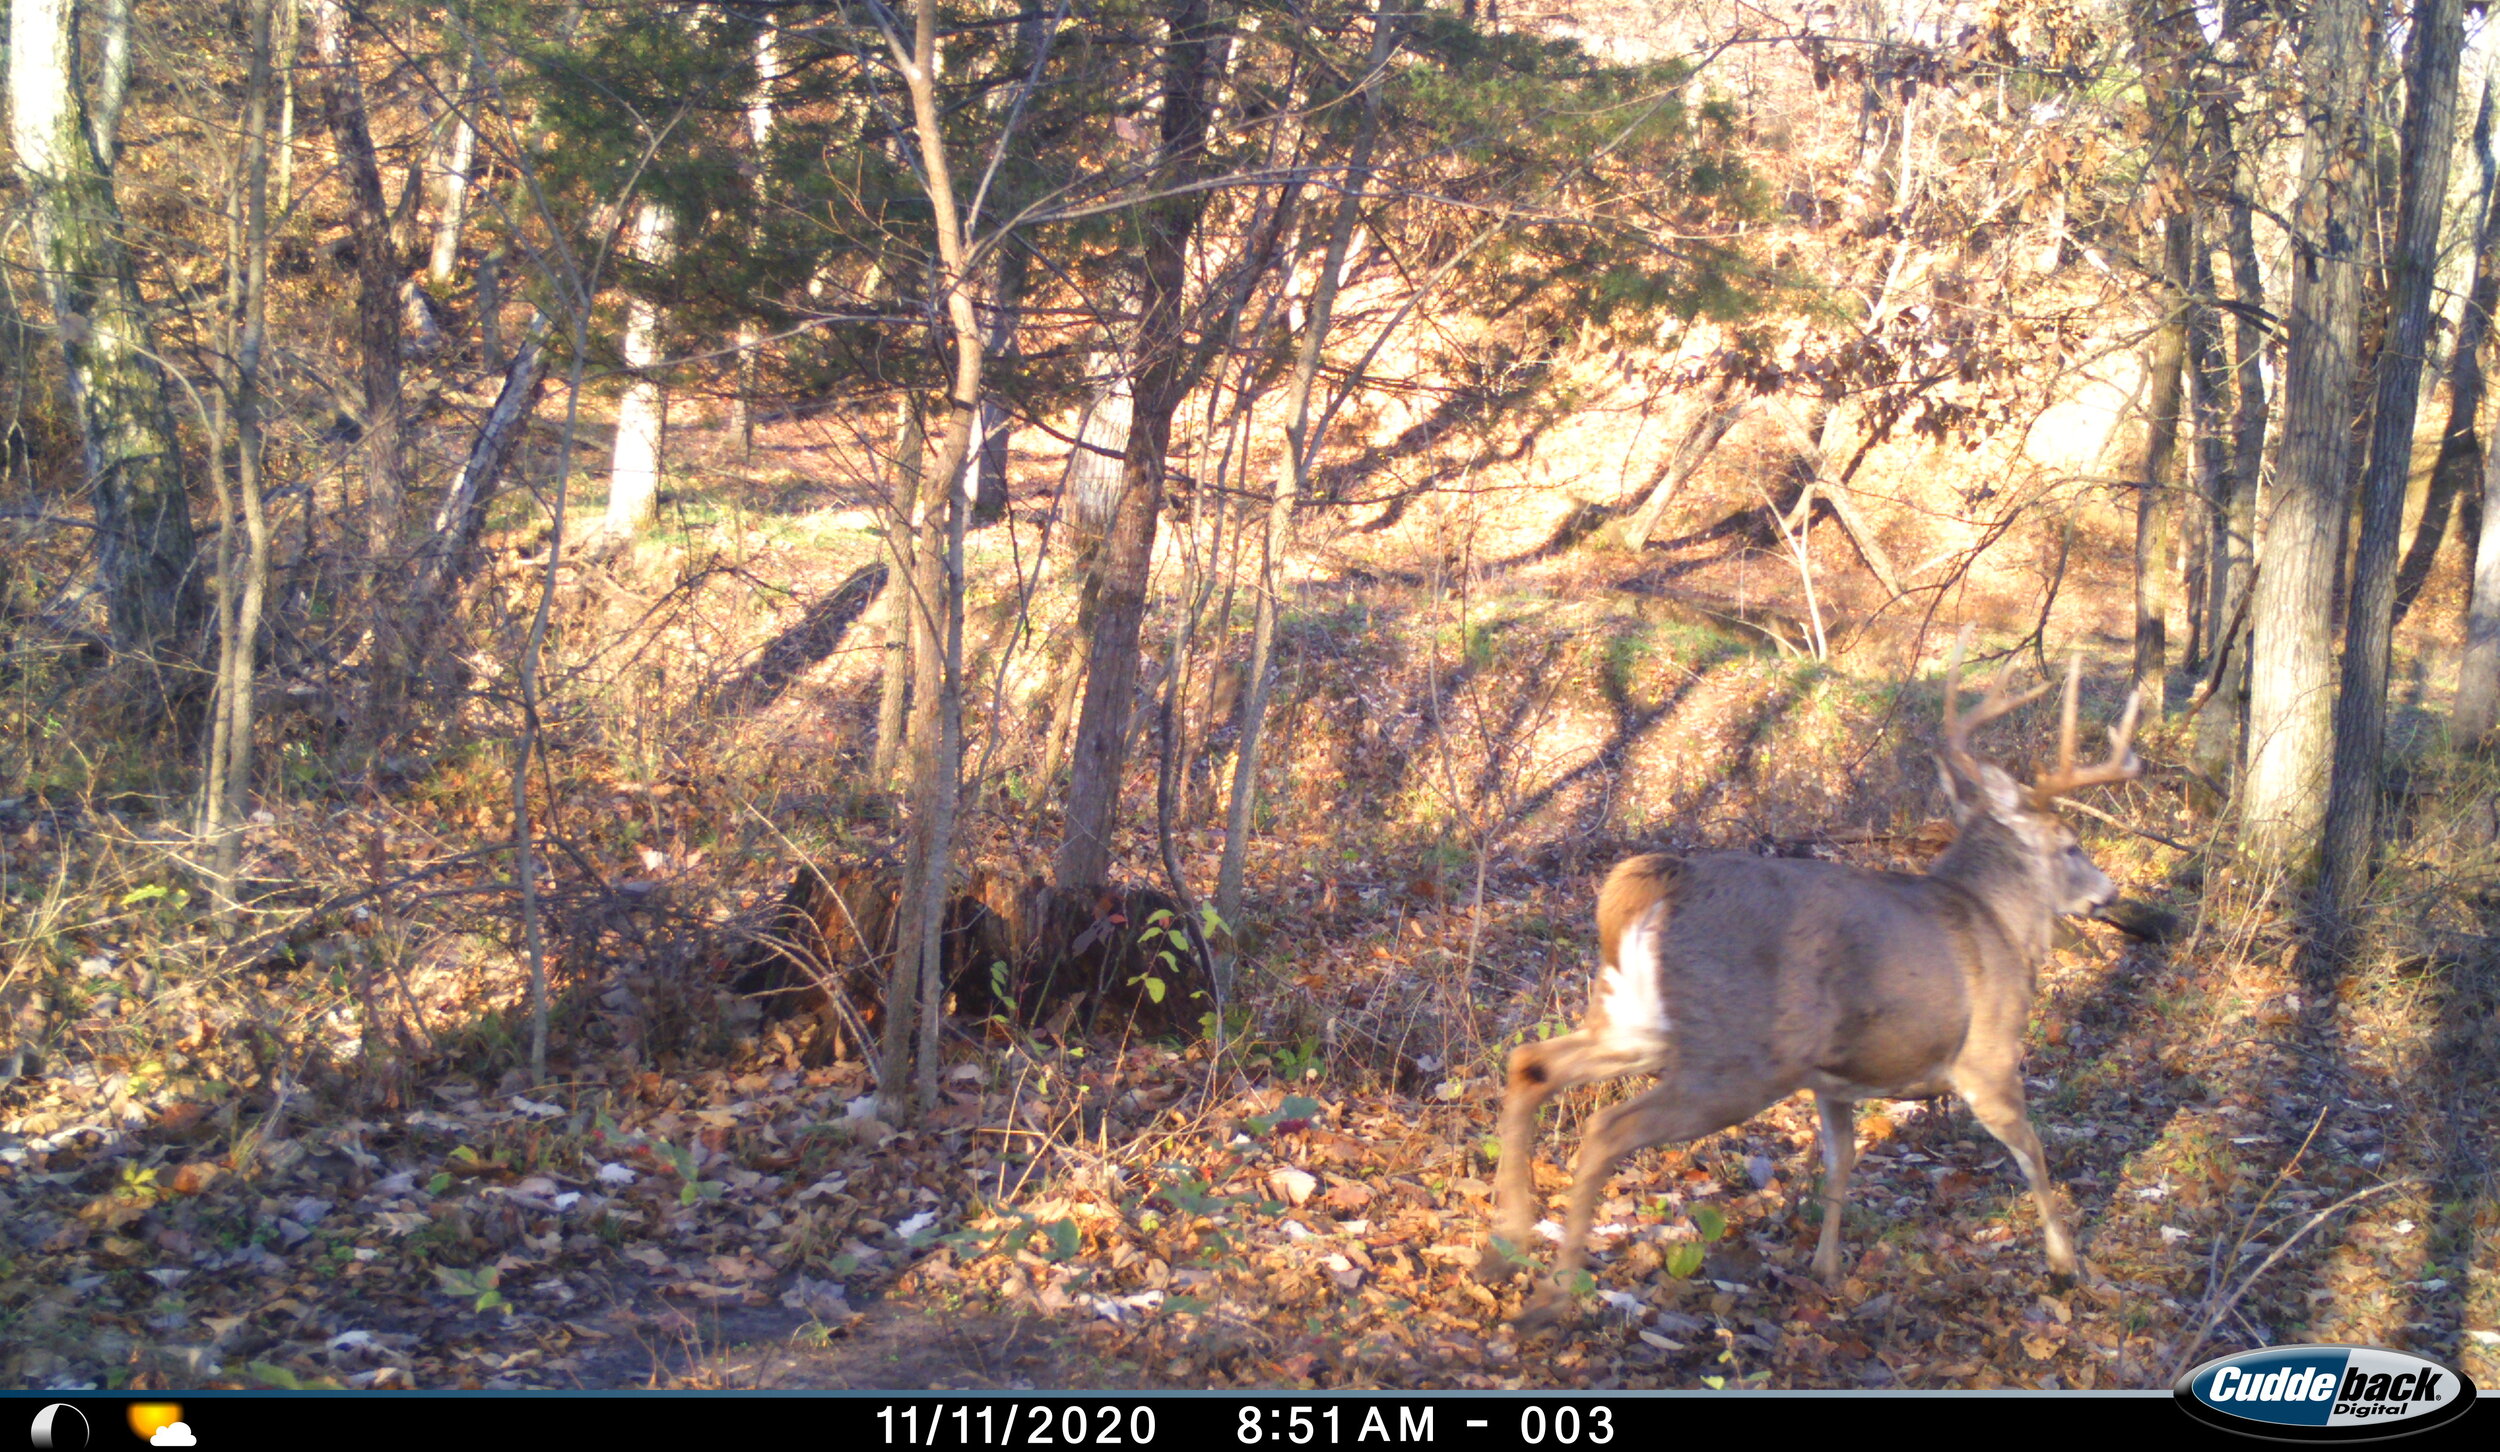
The chase is on in Mid November. If you got this picture sent to your phone, would you be on the road?
I encourage everyone this year to rethink their trail camera strategy. Don’t be intimidated to learn new technology within the hunting industry. These tools are such an advantage in the whitetail woods that we would be doing ourselves a disservice if we weren’t putting our best foot forward in helping us gain that extra edge on that giant of a lifetime.